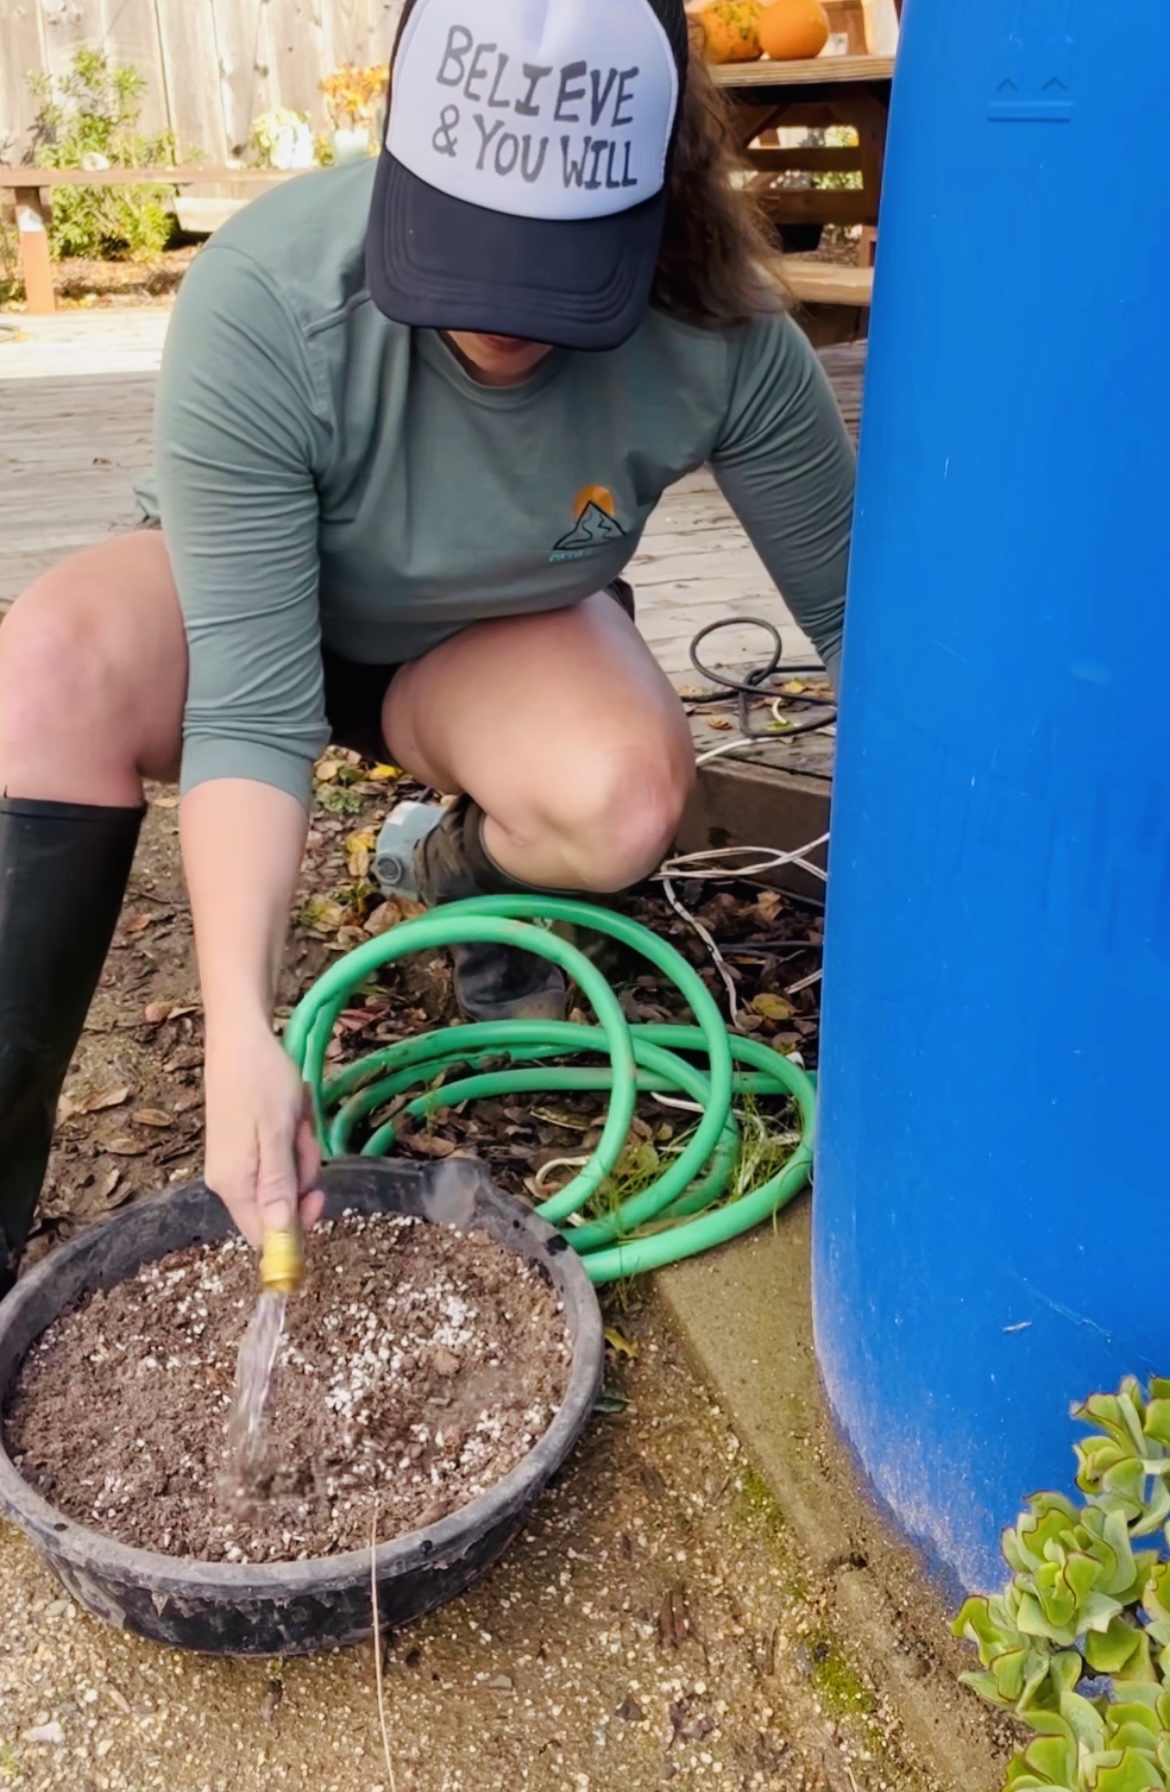
We store 500 gallons of water on our 1/10th acre urban homestead using ten 50 gallon food safe barrels connected to our gutter via a diverter system.
Our rainwater catchment system was the first thing we set up in our home, even before we found a couch. Knowing that I wanted to grow an urban homestead in a drought prone area, it would be critical to have additional water to use outside of our municipal water. In our county, you can store up 5,000 gallons without a permit under specific conditions, but for now we are easily storing 500 gallons on the north side of our home under our house windows (we do not have space for an above ground cistern). We use this water only for watering the base of plants and starting seeds. We love this setup so much, I plan to add an addition 500 gallons in the future.
This page is all about how our setup works as well as answering questions we’ve received about rainwater harvesting. Please add your questions in the comment box below and I’ll try to answer them in due time.
Table of Contents
- How Our Rainwater Catchment System Works
- Materials to Build Rainwater Catchment System
- Effect of Roof Materials on Water Collection
- Testing Kits for Water
- To First Flush or Not to First Flush
- How to Clean Your Barrels

How our rainwater catchment system works
Here is a short video that shows the basics of our rainwater catchment system.
We have ten 50 gallon rain barrels on the north side of our home that are in the shade all year. We keep our gutters clear of debris in addition to a gutter guard that prevents debris from going into the downspout. On our gutter is a diverter that takes water streaming down the sides of the gutter into the first rain barrel. All of the rain barrels are connected with a double-ended female hose at the base. This means that all of the barrels will fill and empty simultaneously (Go Physics!). We have chosen this setup as it reduces any barrel sitting with stagnant water, and we only need a spigot on one end to access water from all of the barrels.
The materials we used are as follows:
- Food Safe BPA Free 55 Gallon Barrels for long term water storage
- RAINPAL Rain Barrel Linking Kit (inserted at base between barrels so they fill and empty all at same rate)
- EarthMinded FlexiFit Universal Diverter System
- RAINPAL Brass water container/Rain Barrel Quarter Turn Spigot
- Downspout Gutter Guard
- EXTRAUP 115 VOLT 1/2HP 1500 GPH Pump to use for watering – however if your barrel height is higher than where your garden is by even a few inches, you do not need to worry about this.
- DIY Brush for cleaning (For end of season cleaning – see more about this here)
- Flat paving stones for base of containers.
Effect of Roof Materials on Water Collection
One contentious topic around rainwater harvesting is roof materials used for the system. There is a fear of using asphalt shingles (a common, cost-effective roof material) due to toxins. However, research has repeatedly shown that this is not necessarily clear-cut to rule out all shingles. In some instances, asphalt shingles had less toxins than more readily recommended roof materials!
In a study conducted by the Texas Water Development Board, “Roofing material is just one factor that affects harvested rainwater quality. The full-scale study showed that the quality of the rooftop-harvested rainwater varied between the two shingle roofs of similar age. In some cases, one of the full-scale shingle roofs showed the highest concentration of a particular contaminant while the other shingle roof showed the lowest concentration of the same contaminant (i.e., as compared to Shingle 1, Shingle 2 consistently showed higher TSS, FC, and TC concentrations), suggesting that geographical location affects harvested rainwater quality… While metal and tile roofs are commonly recommended for rainwater harvesting in developed countries, our data suggest that asphalt fiberglass shingle and cool roofs also might be considered for this purpose.”
Blue Barrel Systems does a wonderful job going over the types of roof material options out there. One critical detail they note is to not collect water from a newly constructed shingle roof due to off-gassing of the adhesives. After three years, the roof will most likely be safe to use.*
*In general, asphalt shingles roofs are considered safe for irrigation of any plants. However, since variability can occur based on the condition of your roof, testing your water is ideal to make the best decision for your space.
Testing Kits For Water
To be absolutely sure our water is safe to use on all plants in our garden, we tested our gutter water.
When first deciding to establish a rainwater system, a more expensive test can be performed to examine the state of the roof and decide whether to collect from it. The Safe Home ULTIMATE Drinking Water Test Kit is for potable water, providing 200 different parameters at an EPA certified laboratory. For those worried about a variety of toxins, this test, while more expensive, will give you the data you are searching for.
At the start of the growing season, we check our water with the 17 in 1 Premium Drinking Water Test Kit. To be clear, we do not use this water to drink or wash fruit and vegetables with. To this date, we have seen no issues with the our stored water.
First Flush or Not to First Flush
Another hot topic in the rainwater storage world is whether or not to do something about the first rain of the season. A first flush diverter (or roof washer) is a contraption that diverts the first water of the rainy season from a rainwater catchment system, washing away any sediments since the last rain. The goal is to try to help ensure cleaner water in your rain barrels.
However, Blue Barrel Systems effectively explains why these additional attachments to your rainwater catchment system can cause many more headaches and then any help. Check out their article on this here.
Another potential option for this is to disconnect your diverter hose for the first flush of rain.
How to Clean Barrels
Best practice for cleaning barrels is dependent on a number of factors: the amount of sunlight, the color of the rain barrels, volume and frequency of rainstorms & drainage, and amount of organic material that may end up in them. Because we have little to no organic material issues, we clean our barrels every other year.
Here are the steps we use to clean barrels:
- Disconnect barrels from the downspout and each other. Drain any remaining water from barrels (we add this to our pond or large oak trees).
- Check for/clear debris in gutters and rinse off gutter guards, making sure there are no blocks in gutter downspout.
- Inspect barrels for any damage, sediment, or algae growth. Lay the barrels on their sides, spray with water and brush the interior. I find using a DIY bathroom brush taped to a larger mop stick to be the best option for hard to reach spots. Empty the barrels once more.
- If needed, use a 1:1 mixture of vinegar and water, pour a quart into your barrel, shake around vigorously, and then scrub thoroughly once more. I discard this mixture back into a container that is flushed down toilet inside to avoid affecting our garden.
- I give the barrels one more quick rinse and then let them air dry completely before putting system back together.
I know in due time, this blog will be updated with more questions answer and information updated. Stay tuned for part 2 about designing a system, roof water calculations, and benefits of a transfer pump.
We appreciate your (kindly worded) thoughts and always happy to hear other systems folks are setting up out there!
This post contains affiliate links that support our small business.


