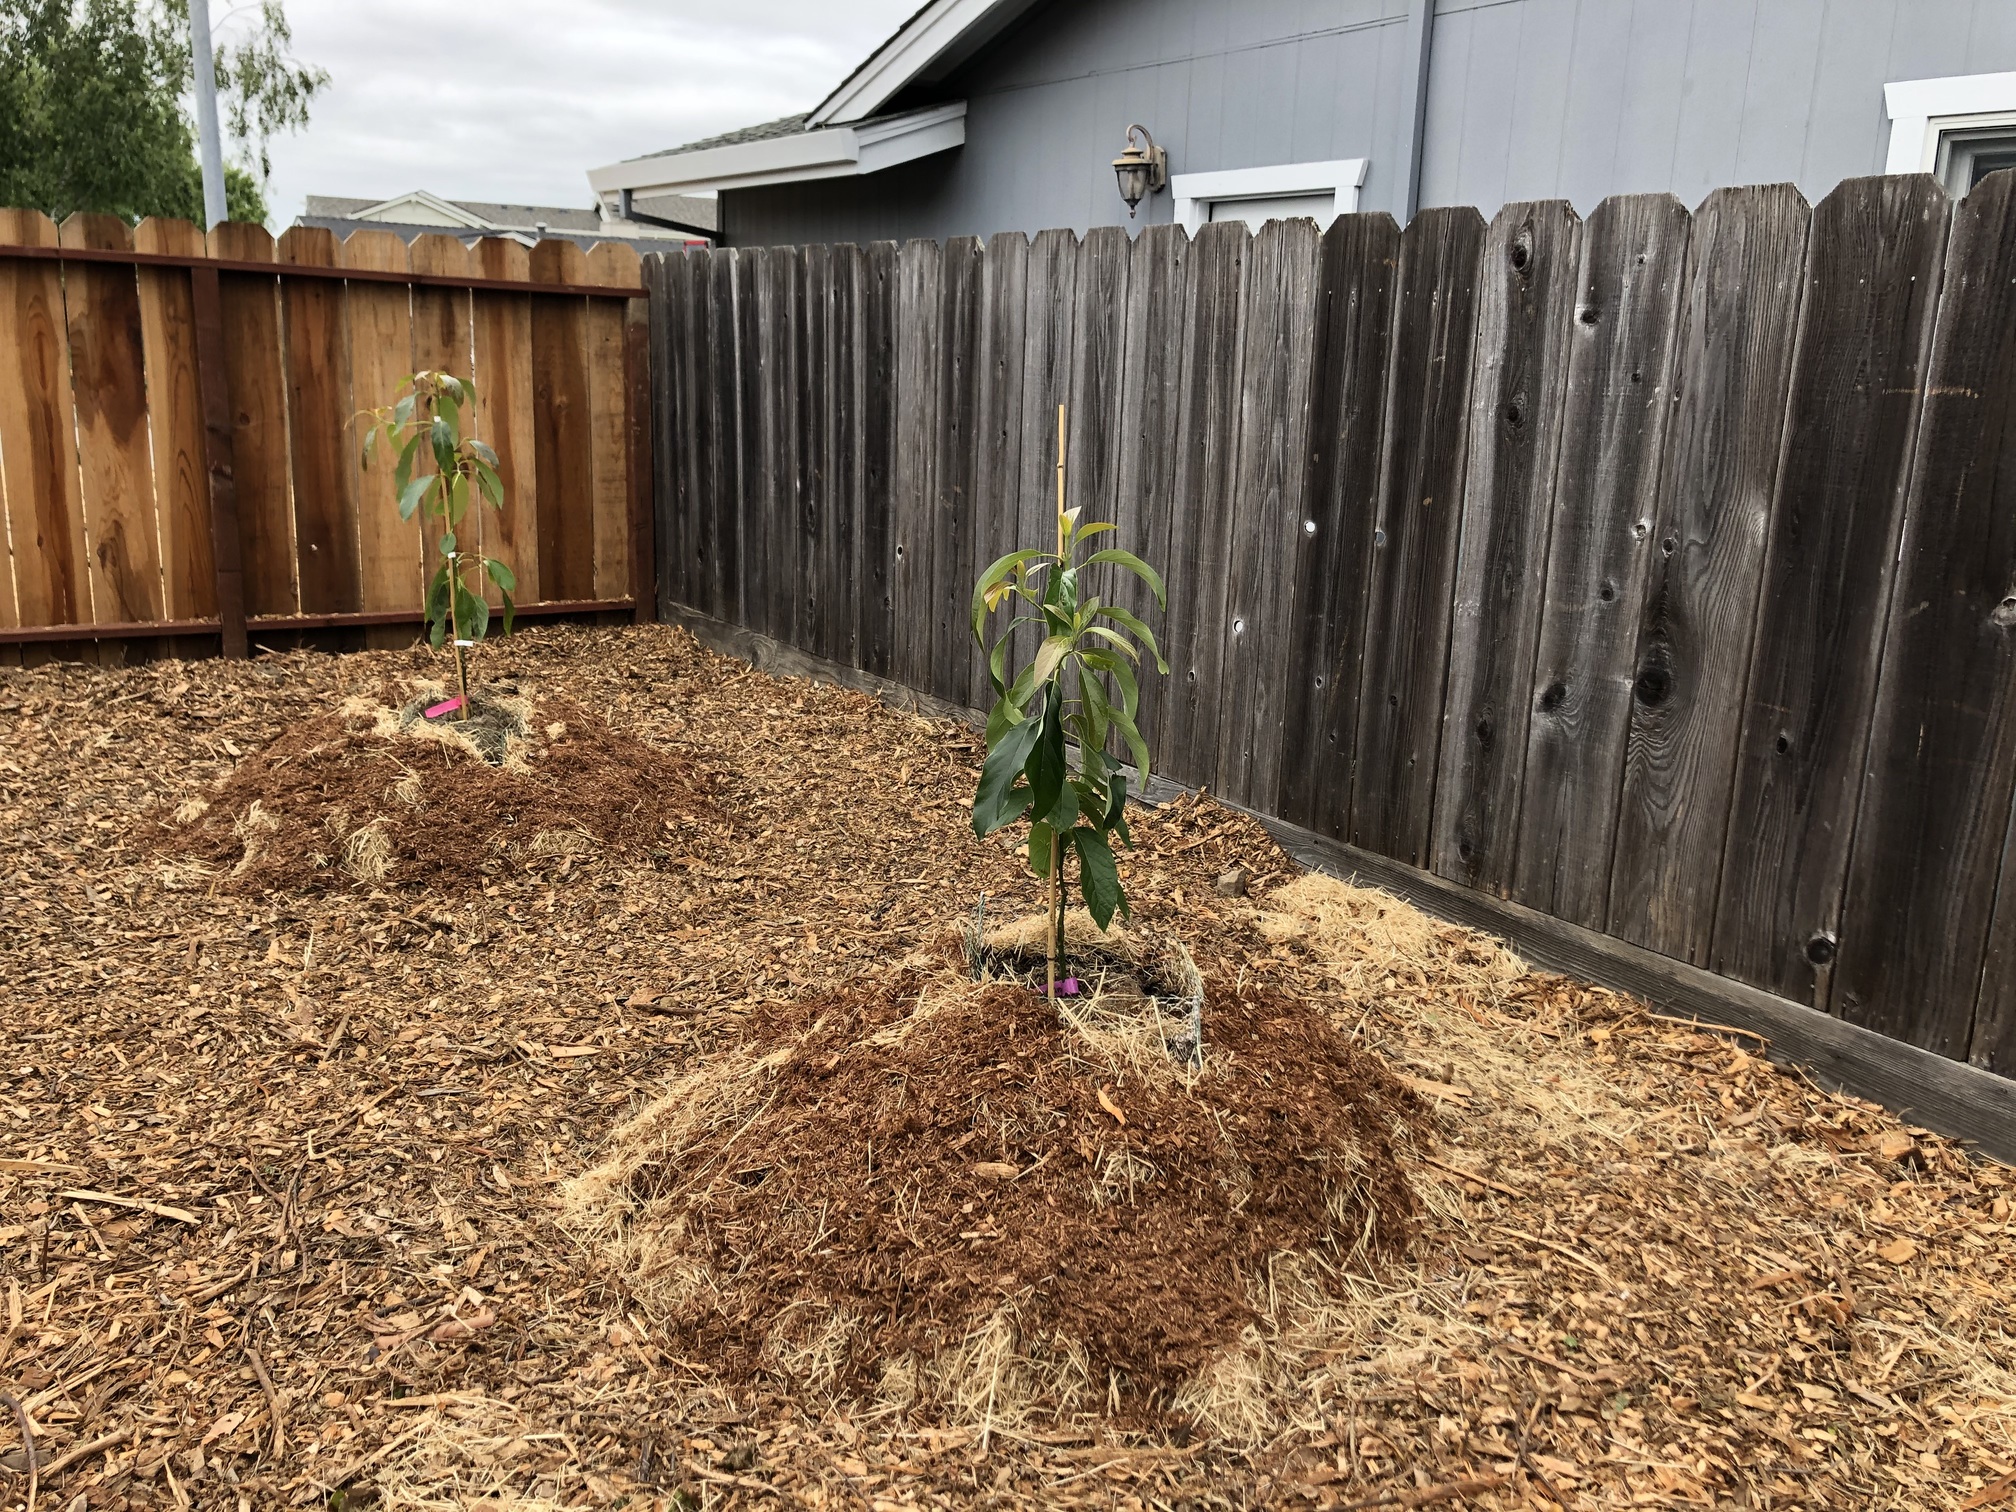
First and foremost, we want to give a huge THANK YOU to Epicenter Avocado Trees & Fruit for these beautiful avocado trees that have joined our homestead. Ellen and Fred are inspiring and their homestead that they’ve nurtured for over 20 years made my inner child jump with joy as I explored the garden grounds. Check out our process as we added a phoenix and reed avocado tree to our home.
Step 1: Location! Location! Location!
This was a toughy. Ideally you would wait until you’ve experienced a full year on your land, observing nature’s patterns and rhythms, before planting trees. However, someone was antsy… ok ME. I was antsy.. to have our very first avocado trees, and so here we were, figuring out their placement.
Avocado trees like full sun, once established, and so we needed to find the best location for them where this could be possible all year-round.
For those of us that live in the northern hemisphere, planting trees on the north side of your garden will prevent them from casting shade on other plants, especially during winter time when the arc of the sun is lower in the sky. This is known as “south-facing” orientation. We are blessed with a large yard that has full sun and knew we needed to plant our trees along our northern fenceline.
However, we also have a large west-facing fence dividing the front garden and backyard garden spaces. We originally had the trees’ mounds lined up against the western fence line, but as I stared at these mounds for weeks, I decided I didn’t want to risk them being with little to no sun in the winter months with a lower sun arc and potentially being blocked by both our house and the fence line (I used the app Sun Seeker to help with determining the winter sun’s arc since I have not witnessed a winter here yet). Annnnnddd so this meant we had to move our free play structure for Meru – which meant moving our hanging lights, gravel, and wood chips once more, but alas I’ve got an incredible husband who makes big projects move fast.
Step 2: Dig a hole/mound & Prepare Soil
Once we determined where our tree mounds would be located, we broke up our clay soil and added sand and well-decomposed compost to it to adjust the texture and allow water to filter through. Avocado trees do not like their roots sitting in water so it is absolutely necessary to create this mound (about 2 feet tall) to create the ideal setup for them.
Step 3: Gopher Baskets?
Ooooh to add a gopher cage or not add a gopher cage. This has been ticking back and forth in my head for weeks. We’ve got gophers that come and go, and as our garden develops, we know they will be a challenge we will need to address with more vigilance.
When it comes to our avocado trees, my biggest concern is our gopher baskets hindering the growth of the trees. But that would matter at all if the trees die from the gophers, would it? So, we decided to invest in these gopher baskets which have micro-fissures in them to aid in them breaking down with 3-5 years to allow the trees’ root systems to continue to grow. All I can do now is hope this is true!
Step 4: Transfer with care & add mulch
When transferring the avocado trees, we carefully removed them from their containers without disturbing the root ball at all. We made sure the soil level came up to the root ball and then created a mound right around the base to avoid water touching the base of the tree when watering. After this, I sprinkled a bit of gypsum around the mound to help with reducing the clay and salt levels (due to living along the coast) as well as straw and redwood mulch to protect our sweet little ones.
Step 5: Water 2x per week & Love
With the initial planting, mother nature helped us with a good downpour. We now water 2x per week to allow the avocado trees to drink up some water and then let their roots dry off a bit. It is the best site to see our two beautiful trees from our kitchen window and we can’t believe we will one day have our very own avocados in our backyard!
Let us know any questions you have on the process in the comments below.
Smiles,
Melissa Smith


